Multi Joystick HID installation
-
Define the position of the joystick.
When you hold the Multi Joystick in front of you, with the jack connectors on the right-hand side as seen from your point of view, a forward movement of the joystick is the default 'north' direction. This can be adjusted, however, with the Configurator Software.
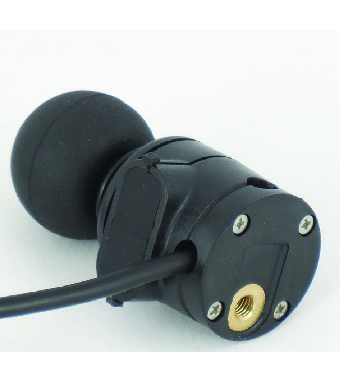
- Determine which of the 3 slots you will use to guide the cable.
-
Secure the mounting plate with the 4 screws to the base of the joystick housing.
-
Place the Q2M half clamp at the bottom of the unit. Use an Allen wrench to mount the 14 mm bolt.
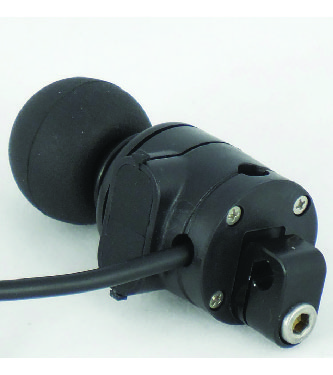 Note: It is not advised, but you may mount the joystick without using the Q2M half clamp.
 - Slide the unit over a Q2M rod or the ¼" Q2M Rod 50 mm Threaded UNC or any other 6 mm rod, to position the Multi Joystick HID.
- Place and secure the interface unit and all cabling on the desired location.
- If required, place up to four switches (via splitter cables), secure their cabling and insert their connections.